Adding Mixamo animations to Synty characters in Godot
In the previous tutorial we looked at how to import Synty Characters into Godot 4. But to get more life into these static cells we want to add Mixamo animations today and create an animation library to reuse the animations in Godot.
Prerequisit
- Blender 3.4.1 with my Cleanup Plugin installed
- Godot 4
- Godot ready Characters from previous tutorials
- Adobe account for Mixamo
Prepare character for Mixamo
For this step I highly recommend to read the previous tutorial where we prepare the characters first.
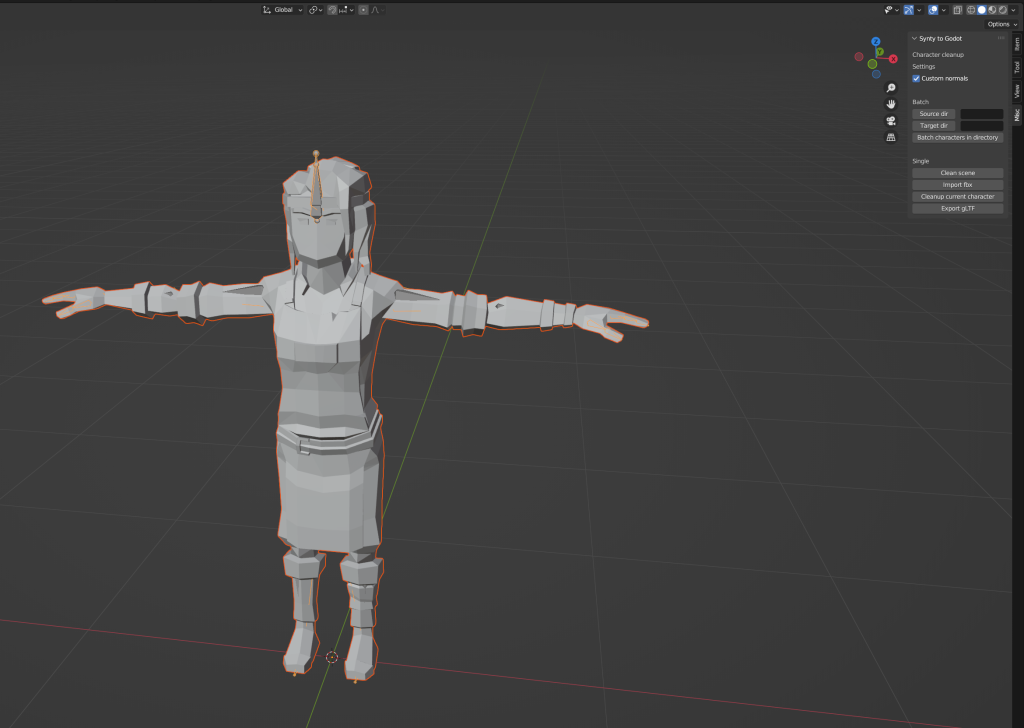
To get Mixamo animations working we need to import a single Synty character into Blender. Start up Blender with a fresh scene. Press the “Clean scene” button in the “Synty to Godot” panel and import any character with “Import fbx”. Afterwads press the “Cleanup current character” button. Depending if you had to prepare the the character with Autodesk FBX Converter you have to check “Custom normals”.
Save the .blend project for later and export the character with default settings as FBX file.
Getting Mixamo animations
Now we will upload the FBX file to Mixamo and search for animations and settings we want to use in Godot. The uploaded character may have some strange black surfaces in the preview. You can use another character where this surfaces don’t appear or ignore them. We will not use this mesh in Godot anyway.

Now selecte the desired animation you want to add to your character and download it as binary FBX without Skin, 60 FPS and without Keyframe Reduction. Repeat this process for every animation you want. Later on you still can add, remove or replace animations.

Prepare animations for Godot
I have very little to nothing experience in Blender. The following steps may be confusing for people knowing what to do, but the given steps are working for my workflow.
To prepare the animations we need to open the .blend file with our character, import the fbx animation files in a new collection and hide it.
Now we need to select our character in the scene tree, open the Dope Sheet Editor in any area, enter the Action Editor and add an new Action for our character.
Now we add the animations to our character and name them. Open the “Nonlinear Animation” editor. Select the action, press ‘N’ to open the details panel. In the details panel you can select the actions aka animations from the other fbx files we imported and should be able to preview it on our character.
Now you need to push down the action, with the button on the left, besides the animation you selected. You can also name the animation. If you want to loop the animation automatically in Godot, add the suffix “-loop”. Repeat this process for all animations and save your .blend file.
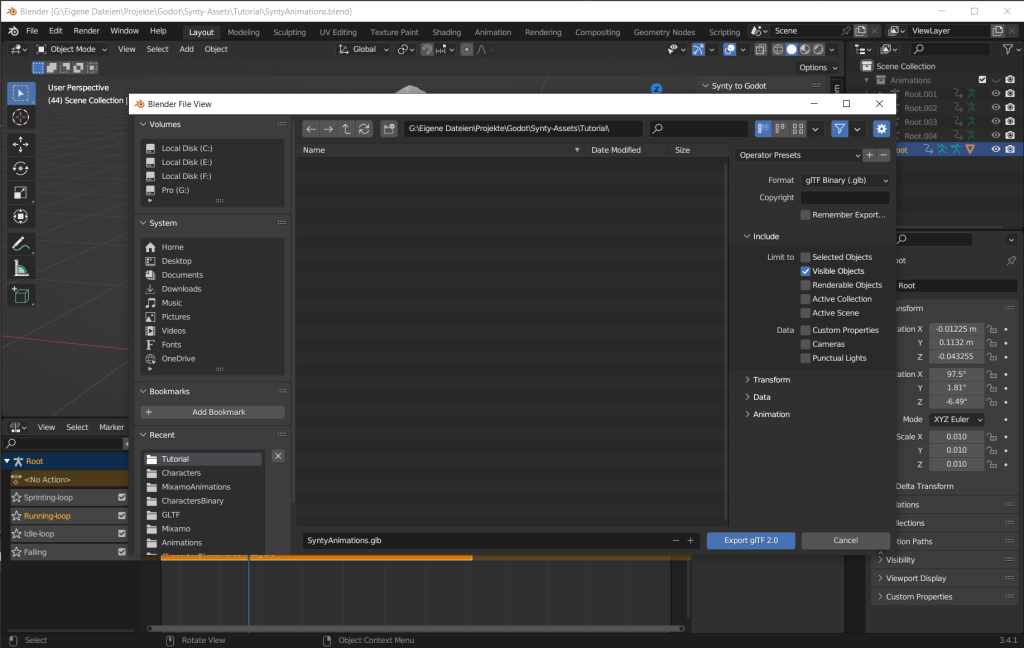
Now we need to export our animations als .glb file with only visible objects included. In this way we hide our imported .fbx animations. But don’t loose them if we want to edit the animations later on.
Creating an Animation Pack in Godot
Import the .glb file with your animations in Godot an take a look into the advanced import setting. Have an eye on the scene and check if all your animations are included. You can’t see here if the animation is looping or not, but we will check this in a moment. Optionally you can also override the lambert1 material with an existing material using the matching texture for a better preview.

Now drag and drop your character in any scene. Right click on the Node and click “Make Local”. Click the “AnimationPlayer” node. Here you can preview your animations in the scene viewport and check if they loop.
Now click the Animations button and “Manage Anmations…”. Click on the save icon on the “[Global]” resource and “Make unique”. Now click on the save icon again and save it with “Save as…” as an animation library ressource.
Apply animation pack to other characters
Now you are able to add the animation library in any way you want to the other characters. You need to add an animation player to your character and load the animation library we created.
The easiest way is to drag and drop your character to an existing scene, make it local and add an animation player to it. With the selected animation player click the “Animations” button and “Manage animations…”, select “Load Library” and open the animation library.

Adding or removing animations
To add or remove animations you must edit the .blend file and import new .fbx animations or remove the animation you don’t need anymore. Now export the .glb file again and repeat the import process in Godot and apply the new created animation library to your existing characters.